Beauty Buzz: I’m with the Band
 When I was younger and I went shopping with my mom, I would pick out something and she would often say, “I can make that.” At the time, it drove me totally insane. Now that I’m just a little bit older, but a lot wiser, I realize that she was probably right. I mean, I would come home from school and she would be refinishing the hardwood floors. I still can’t figure out how she doesn’t have her own show on HGTV, but that’s not the point.
Somewhere, that lovely woman is smiling… cause I’m about to say those four magical words… I can make that.
Remember when I told you about Birchbox? Well, in one of my first boxes, I received a hair tie from Twistband. Loved it. Til it started to fray at the ends… and until I saw the price tag- $10 for six. In my opinion, that’s a bit pricey for hair ties, which like lipgloss, are destined to be lost in the depths of my purse or that place where socks go to die. After inspecting the hair tie, I realized that it was quite simple, so I headed to Jo-Ann Fabrics and bought myself two yards of 1/4″ black elastic. You know how much it cost? $2.37.
$2.37 / 6 = $0.40
Now, I’m no finance major, but I’m fairly certain that’s what you’d call a “bargain.” Below I will show you how to make these awesome hair friendly ties yourself for a fraction of the cost… unless, of course, you have money to burn.
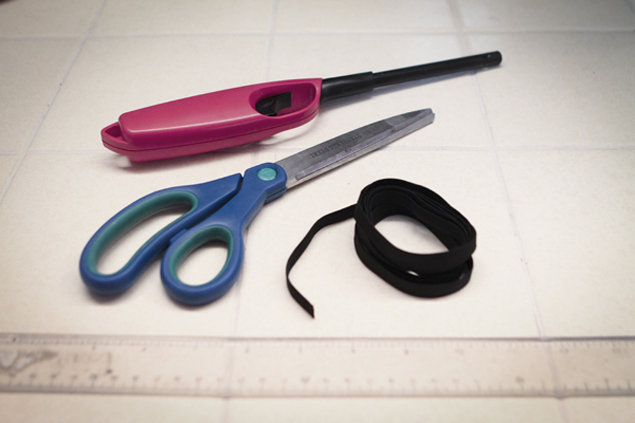
Supplies:
- 2 yards of 1/4″ elastic
- scissors
- ruler
- lighter
- hair to be tied
 Measure a 12″ piece of elastic and then cut (you could make them smaller depending on how tiny your wrists are and how much extra elastic you’d like on the ends).
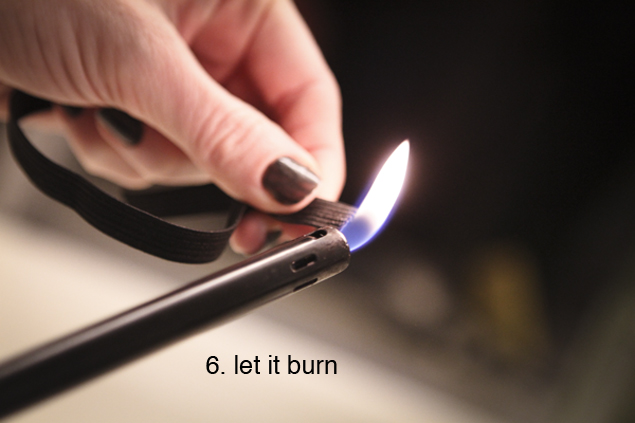
 A little something I learned in ballet class (other than a perfect pirouette) is how to singe the ends of elastic and ribbons to keep them from fraying. Do NOT light it on fire, just hold the flame close enough to create a solid edge.
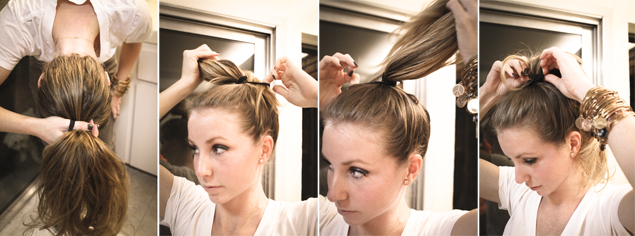
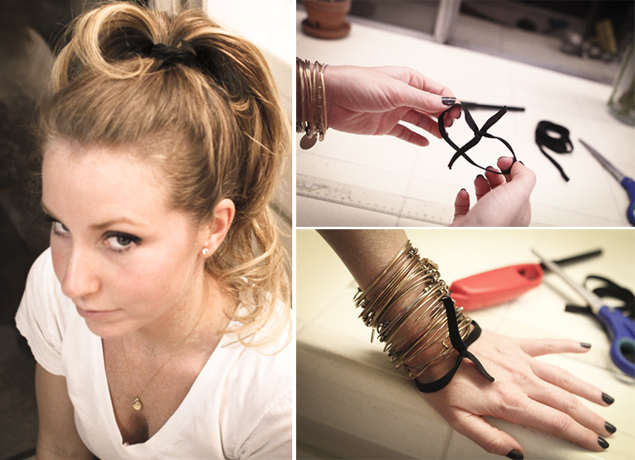
 Looks as good on your head as it does on your hand! Now that’s fit to be tied.
xx,
WhyDid


 Follow


