­

Why Did You Eat That: Bah Hamantaschen
By |November 28th, 2011|Recipes, Why Did You Eat That?|

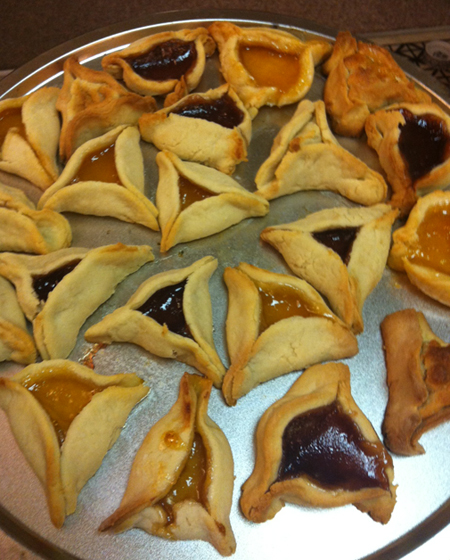
With the holiday music comes the holiday baking.  While many opt for gingerbread and sugar cookies, I happen to be quite fond of hamantaschen.  I’m a little late to the game on these (or at least I never knew how to pronounce the name of these sweet treats), I’ve fallen hard and fast.  A traditional cookie made during the Jewish holiday of Purim, they are sure to delight any sweet toothed cookie lover.  While they look pretty fancy and complicated… again, I made them.  If I can do it- so can you.

Ingredients:

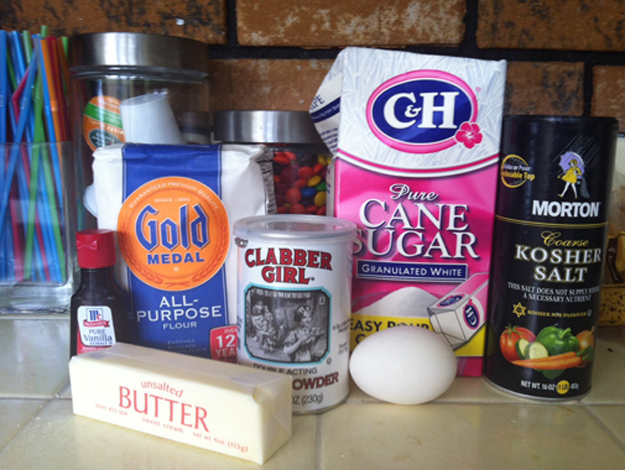
  • 2/3 cup unsalted butter
  • 1/2 cup sugar
  • 1 egg
  • 1/2 teaspoon vanilla
  • 2 1/2  cups all-purpose flour
  • 1 teaspoon baking powder
  • dash of salt
  • Fruit filling (I used apricot, raspberry, and almond)

Directions:

  1. Cream the butter with sugar. Add egg and continue creaming until smooth. 
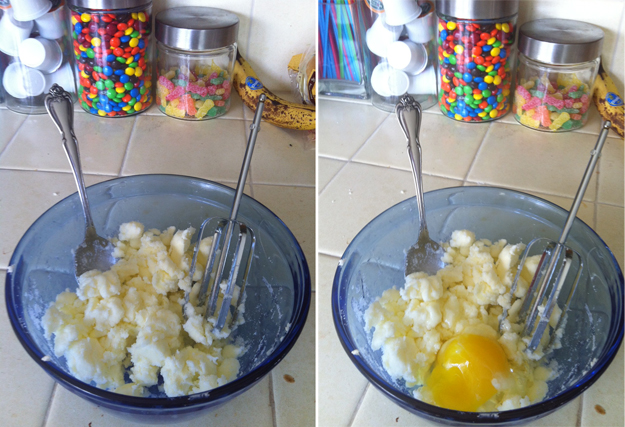
  2. Add the vanilla.
  3. Stir in flour, baking powder, and salt until a ball of dough is formed (a food processor would have been helpful for this). 
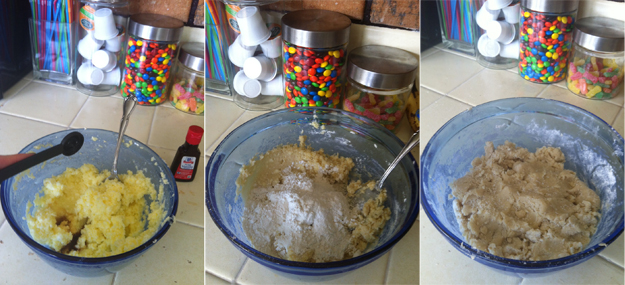
  4. Chill for 2-3 hours, or overnight.
  5. Preheat oven to 375 degrees.
  6. Taking 1/4 of the dough, roll out on a lightly floured board to a thickness of 1/8 inch.
  7. Cut circles of dough with a drinking glass or round cookie-cutter. 
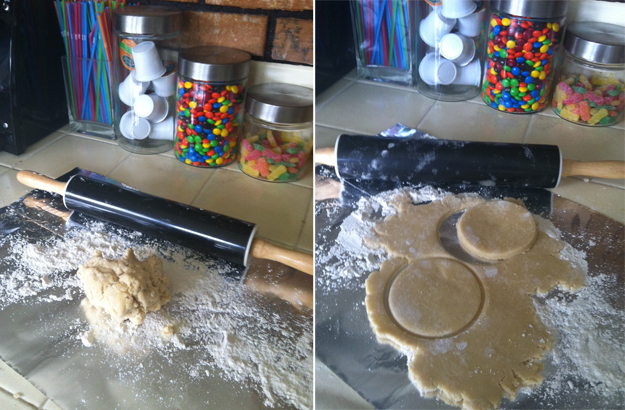
  8. With your finger put water around the rim of the circle. Fill with 1 teaspoon of filling and fold into three-cornered cookies. (Press two sides together, and then fold the third side over and press the ends together.) 
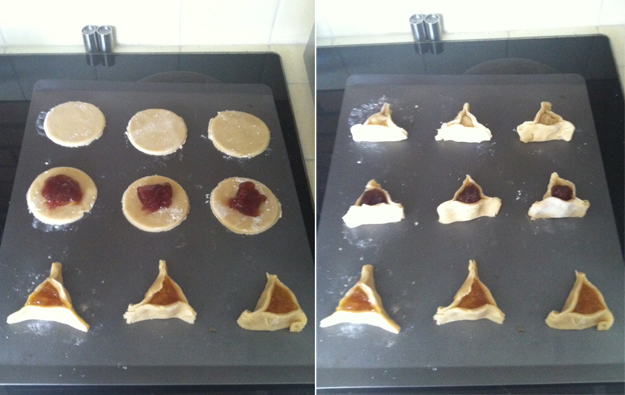
  9. Bake on a well-greased cookie sheet 10-16 minutes, until the tops are golden. (I prefer for them to be a bit lighter, so stay near the oven- they cook fast).

Be sure to let these cool before boxing up or trying to serve/eat.  It takes a little bit of time before the fruit filling goes from molten lava back to solid again.  I may or may not know this because I splattered it down the front of my face and shirt.  Patience is a virtue, my friends.  You also might notice I rolled out the dough on tin foil (DOH!).  Wax paper would be a more prudent choice- but beggars can’t be choosers and it all worked out in the end.  So, be sure to add these delicious (and impressive) cookies to your holiday baking repertoire.

xx,
WhyDid

Why Did You Eat That: How Do You Like Them Apples?

By |November 22nd, 2011|Recipes, Why Did You Eat That?|


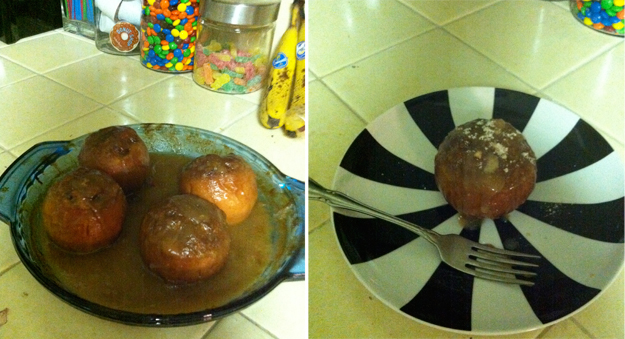
It seems like during this time of year pumpkins get all the attention.  Pumpkin pie, pumpkin lattes, pumpkin cupcakes… the list goes on and on and on.  Now, let’s be serious, I love pumpkins as much as the next gal, but sometimes you (and your sweet tooth) crave something a little different for dessert.  Boy, do I have a treat (literally) for you.  I stumbled upon a super easy, super delicious recipe for baked apples that will blow your mind.  Now, I am no pastry chef, but I can read directions.  At first, this recipe may seem daunting, but I promise it’s easier than pie (did you catch that one?).  It takes a bit of attention, so you are gonna have to get up during commercial breaks of Real Housewives of ______, but it will be well worth it.


Ingredients: 

For Baked Apples

  • 8 sweet apples, Gala or Fuji
  • Butter
  • 1/2 cup pecan pieces
  • 8 ounces mascarpone
  • 2 tablespoons brown sugar
  • 1/2 cup raisins
  • 1/2 cup dried cranberries
  • 1/8 teaspoon salt
  • 1/4 teaspoon cinnamon
  • 1 orange, zest only
  • 1 cup apple cider
  • 1/4 cup brandy

For Crumble Top

  • 1 cup flour
  • 3/4 cup brown sugar
  • 1/4 teaspoon salt
  • 1/4 teaspoon cinnamon
  • 3 ounces butter, cold

Directions:

  1. Preheat oven to 350 degrees.
  2. Generously spread butter on a 9″ x 13″ baking tray.
  3. Slice top and bottoms of each apple to make level. Hollow apple with a core to remove stems and seeds. Cut skin in vertical or horizontal stripes to give a decorative look, if desired.
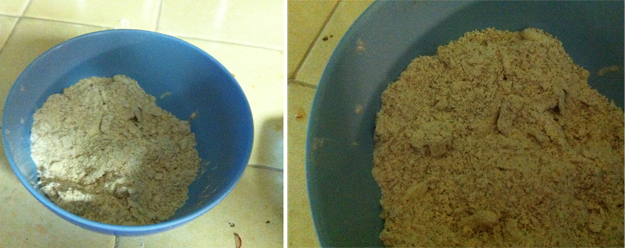
  4. Make crumble by combining flour, brown sugar, salt, and sugar in a mixer bowl. Cut butter into smaller pieces. Combine butter and dry ingredients until crumbly and sandy. Keep in refrigerator until needed. 
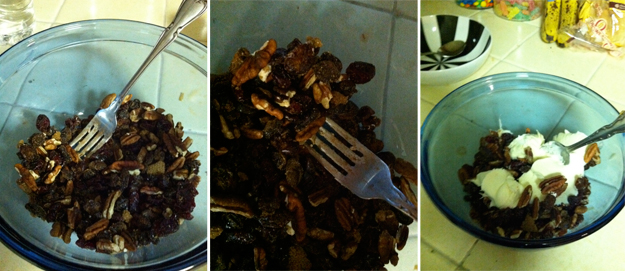
  5.  For the filling, mix mascarpone, brown sugar, dried fruit, salt, cinnamon and orange zest until combined. 
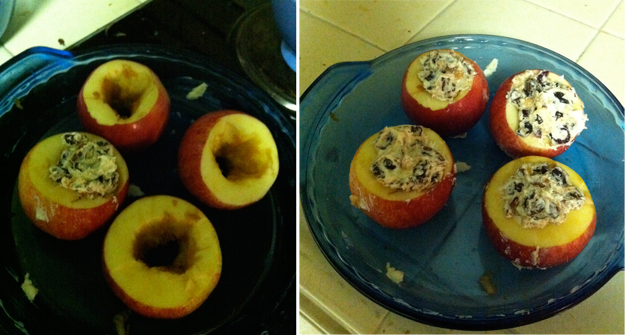
  6. Fill apples tightly with filling and place in buttered pan. 
  7. Top with crumble. Pack it well on top, cut portion of apple.
  8. Pour apple cider and brandy around the apples. 
  9. Bake for 1 hour 30 minutes.
  10. Baste apples with juice every 20 minutes.
  11. Allow to cool for 20 minutes before serving. Drizzle with cider and brandy baking liquid. 

Served with vanilla bean ice cream and perhaps a drizzle of caramel… Mind. Blowing.  So, seriously, how do you like them apples?

xx,
WhyDid

Why Did You Eat That: Not Pumpkin Muffins

By |November 7th, 2011|Recipes, Why Did You Eat That?|

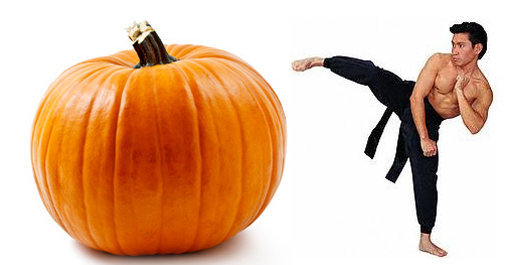
By the end of October, I’ve overindulged in pumpkin spice lattes, pumpkin cupcakes, and pumpkin pie.  To be honest, the thought of pumpkin anything makes me want to high kick a gourd… at least until Thanksgiving and it’s time for pumpkin pie again.  Just because I want nothing to do with this orange vegetable (or is it a fruit?) doesn’t mean that I don’t want delicious baked goods.  That is why I searched for a non-pumpkin, yet still seasonally festive snack.  And would you just look what I found?

Ingredients:

  • 2 cups flour, plus 1/2 tablespoon, divided
  • 1 cup sugar, plus 1 tablespoon, divided
  • 1 1/2 teaspoons baking powder
  • 1 teaspoon salt
  • 1/2 teaspoon baking soda
  • 2 teaspoons grated orange rind
  • 3/4 cup orange juice
  • 1/4 cup canola oil
  • 1 large egg, lightly beaten
  • 1 cup dried cranberries, or 2 cups fresh cranberries, chopped
  • 1/3 cup chopped walnuts, toasted
  • Cooking spray

Directions: 

  1. Preheat oven to 400°F.
  2. Spray two eight-cup muffin tins with cooking spray.
  3. In a large mixing bowl, whisk together 2 cups flour, 1 cup sugar, baking powder, salt, and baking soda. Make an indentation in the middle.
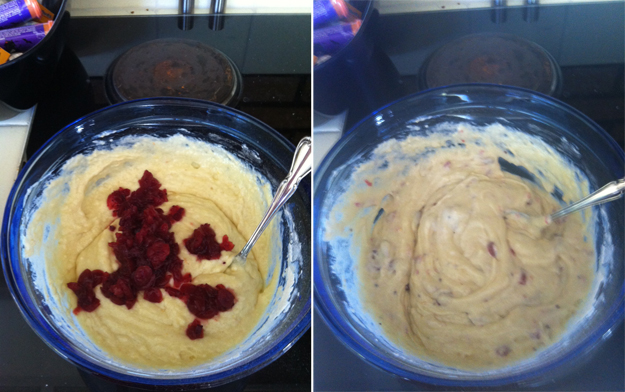
  4. In a large glass measuring cup, mix orange rind, juice, oil and egg. Pour mixture into flour indentation and stir until everything is just combined.
  5. In a small bowl, stir dried cranberries, toasted walnuts, and remaining 1/2 tablespoon flour. Stir into batter.
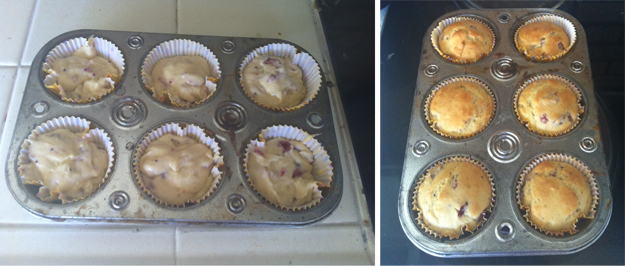
  6. Divide batter evenly among muffin tins. Sprinkle with reserved 1 tablespoon sugar. Bake 15 minutes.
  7. Remove from tins and cool on a wire rack.

Perfect with breakfast or warmed up with vanilla bean ice cream for dessert.
xx,
WhyDid

Why Did You Eat That: Pumpkin Patch Snack

By |October 17th, 2011|Recipes, Why Did You Eat That?|

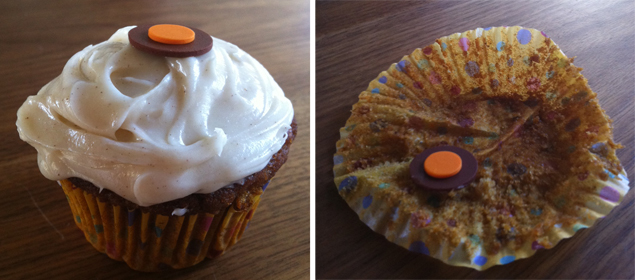
It’s pretty clear that people are crazy for pumpkins.  Pumpkin lattes, pumpkin pie, pumpkin bread.  I mean, if you can add a pumpkin to it, people are gonna eat it.  I know this because I saw a stand for pumpkin topped pizza at Half Moon Bay’s Pumpkin Festival this past weekend.  The only thing I didn’t see was pumpkin wine… and I’m wondering when that’s gonna happen cause then I’ll be a truly happy camper.  This leads me to believe that if you combined pumpkins and cupcakes… you’d really have a homerun.  And someone’s beaten me to the punch…

There’s a magical place called Sprinkles where I first encountered the pumpkin cupcake and it was love at first bite.  Sadly, there isn’t a Sprinkles on every street corner, so not everyone has access to such delightful baked goods.  Lucky for you and me… and everyone else reading this post, I’m about to let you in on a little secret.  Sprinkles was smart enough to realize that they just can’t franchise fast enough.  So, they’ve packaged their cupcake goodness and you can buy it at Williams-Sonoma (and at their store, but if you don’t have a store then you can’t buy it… and if you were in the store, wouldn’t you just buy a cupcake?).  This weekend, I took on the task of whipping up these babies.

Now, since I’ve been going on and on and on about pumpkin cupcakes… you probably would like to make them (and eat them).  And because it will take too long to either 1) order and wait for your Sprinkles Cupcake Mix to arrive, or 2) find your closest Williams-Sonoma, I’ve taken the liberty of providing you with an alternate cupcake recipe (but have kept the Sprinkles Icing recipe – which is kinda the best part).

Ingredients: 

Pumpkin Cupcakes

  • 1 1/8 cups all-purpose flour, sift before measuring
  • 1/2 tablespoon baking powder
  • 1/4 teaspoon baking soda
  • 1/4 teaspoon salt
  • 3/8 teaspoon ground cinnamon
  • 1/4 teaspoon ground ginger
  • 1/4 teaspoon ground nutmeg
  • 1/4 cup butter, softened
  • 5/6 cups sugar
  • 1 eggs, beaten until frothy
  • 1/2 cup mashed cooked or canned pumpkin
  • 3/8 cup milk

Cinnamon Cream Cheese Frosting

  • 8oz. cold cream cheese
  • 1 stick (113g) unsalted  butter, firm but not cold
  • 1/8 tsp salt
  • 1/2 tsp cinnamon
  • 3 3/4 cups confectioners’ sugar
  • 1/2 tsp vanilla

Directions:

  1. Sift together the flour, baking powder, baking soda, salt, ginger, cinnamon, and nutmeg into a bowl.
  2. Cream butter and sugar until light and fluffy; beat in eggs.
  3. Blend in mashed pumpkin.
  4. Stir in the sifted dry ingredients alternately with the milk, blending until batter is smooth after each addition.
  5. Spoon batter into well-greased and floured or paper-lined muffin pan cups.
  6. Fill about 2/3 full.
  7. Bake at 375° for 25 minutes, or until a wooden pick or cake tester inserted in center comes out clean.
  8. Meanwhile, in the bowl of an electric mixer fitted with the flat beater, beat the cream cheese, butter, salt, and cinnamon on medium-low speed until smooth and creamy, 2 to 3 minutes.
  9. Reduce the speed to low, gradually add the confectioners’ sugar and beat until incorporated.
  10. Add the vanilla and beat just until incorporated.  Do not overmix or the frosting will incorporate too much air.  It should be creamy and dense, like ice cream.
  11. Add milk 1 tsp at a time if frosting does not have a spreadable consistency.

If this doesn’t get you into a festively fall mood, then I really don’t know what will.  Probably that pumpkin wine.

xx,
WhyDid


*Editor’s Note: I did, in fact, make that cupcake up above.  Sprinkles is so thoughtful that they even include the cute little candy dots. 

Why Did You Eat That: Put Some Pep(peroni) In Your Step

By |August 29th, 2011|Recipes, Why Did You Eat That?|

20110829-111010.jpgYou might have noticed that I’ve been a bit slow with my blogging lately. Well, that’s because I’ve returned to my birthplace. My roots. My home away from home. Wheeling, West by God Virginia. And while I do enjoy laying around lackadaisically, I do not enjoy the fact that my sweet, sweet mother has yet to set up her wireless Internet making me feel as if I am, in fact, in the boondocks.

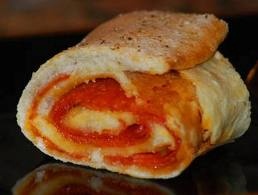
Anyway, I thought I would share the recipe a little local delicacy known as the pepperoni roll. Here’s the funny thing- I never realized this was a regional delight because while I was born in West Virginia I grew up in Florida. My mom made pepperoni rolls for our school lunches (lot better than a turkey sandwich, eh?) and so I spent my formative years thinking this was a normal thing and everyone’s mom had made them pepperoni rolls at one point or another. That is until I headed to the Big Apple and got the same looks as a person saying, “please” when I mentioned this tasty treat. Upon further research I found that the rest of the world was not privy to pepperoni rolls and so today I’m going to share a wonderfully simple recipe.

Ingredients:

  • 1 8 oz. can of Pillsbury Crescent Rolls
  • Approximately 5 oz. pepperoni sliced
  • 1 cup marinara sauce
  • 3/4 cup shredded mozzarella cheese

Directions:

  1. Preheat oven to 375 degrees and separate dough into triangles on non-stick cookie sheet.
  2. Drizzle center of triangle with sauce and arrange pepperoni and cheese on top of sauce.
  3. Roll into a crescent.  Repeat for all dough.
  4. Bake in oven for 10 to 15 minutes.

Now, I’m aware there are probably some pepperoni roll purists out there shaking their heads and scoffing at my simple recipe– but it’s all I got and it’s pretty damn tasty (in my humble opinion).  So, the next time you’re traveling through the great state of West Virginia (HA!) be sure to stop for a snack and make sure it’s a pepperoni roll.

xx,

WhyDid